

Roll Roofing Mastery: Techniques, Preparation, and Professional Insights
Here at the Roof Doctor, we’re here to help you with all of your roofing needs. Whether you need a repair, a cleaning, a replacement, or are simply looking to do things yourself, we’re here for you! The purpose of this article is to guide you through the process of installing roll roofing. Whether you’re a DIY enthusiast or just curious about the process, we’ve got you covered. Let’s dive right in!
What is Roll Roofing?
Before we launch into the process of how to apply it, let’s take a quick look at what roll roofing is. Roll roofing is a budget-friendly, easy-to-install roofing material that’s perfect for low-slope roofs, sheds, garages, and workshops. It’s made from mineral surfaced, oil-based asphalt and comes in rolls of 100 square feet. There are three main types of roll roofing:
- Saturated Felt: An organic felt base covered in asphalt, providing extra insulation for your roof.
- Smooth Finish: An organic felt waterproof base, coated with talc to prevent sticking.
- Mineral Finish: An organic felt base or fiberglass mat strengthened with asphalt. These are thicker sheets, with talc on one side and rock particles on the other.
Preparing for Roll Roofing Installation
Necessary Tools and Supplies
Before you start, you’ll want to gather all the necessary tools and supplies.
- The roll roofing type of your choice
- Roofing Cement
- Roofing nails
- Measuring tape
- Chalk line
- Razor knife
- Hammer
- Trowel
Measuring Your Roof
Start by measuring the length and width of your roof’s surface. Multiply each length and width, and add each section to get the total surface area (in square footage). This will tell you how many rolls you need for your project. Remember to buy 5% to 10% more material than your roof’s measured area to account for roll overhang, trimming, and covering up your roof’s valleys.
Understanding Local Roofing Codes
Before installing any roofing, it’s important to know the ins and outs of local building ordinances. Roofs that are 12 inches vertical, with a 1-inch decline (1:12 pitch), or those that are (2:12 pitch) are good candidates for rolled roofing.
Step-by-Step Guide to Installing Roll Roofing
Now, let’s get to the heart of the matter: installing the roll roofing. We’ve divided up your guide into nine steps to make the process as smooth and accessible as it can be, so let’s jump right in:
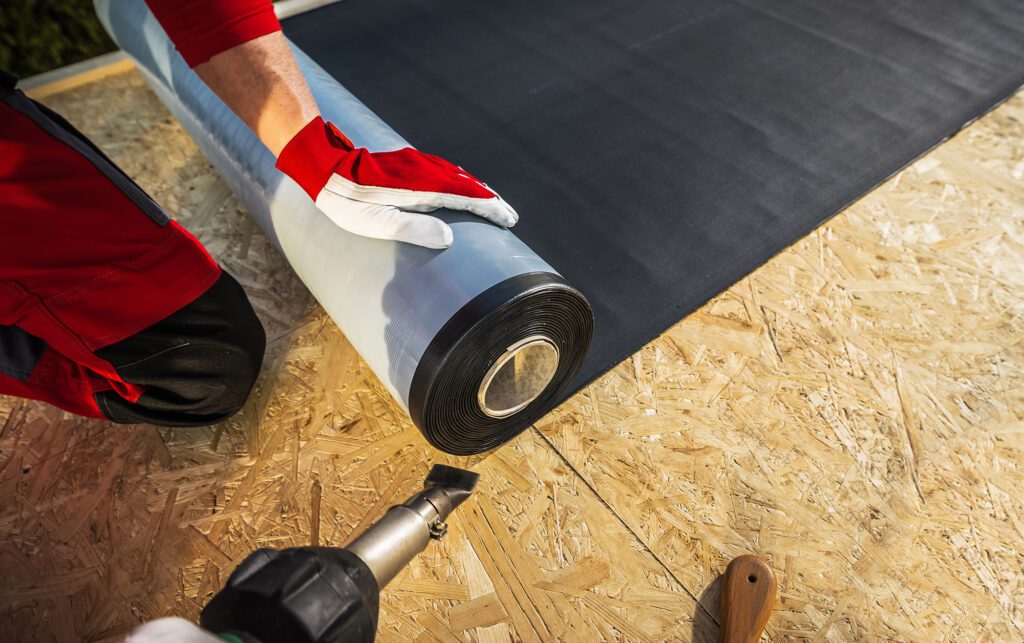
- 1. Prep the Roof: Start by laying out all of your materials. Unroll your roofing material and lay it out flat on the ground. If it tends to roll back up, place bricks on the corners to keep the roll in place. This will make it easier to handle when you’re up on the roof.
- 2. Mark the Roof with a Chalk Line: Next, you’ll need to measure 35 inches up from the bottom edge of the roof. Use a measuring tape for this, and mark a chalk line across the entire roof. This line will serve as a guide for where to install the first layer of roll roofing. The chalk line ensures that your roofing will be straight and even.
- 3. Apply Roofing Cement: Now, spread roofing cement along the edges of the roof. The cement should be spread evenly and be about 1/8 to 1/4 inch thick. This will help the roofing material adhere to the roof and create a watertight seal.
- 4. Cut the Roll Roofing: Using your utility knife, cut your roll roofing to fit each section of your roof. It’s better to measure twice and cut once to avoid wasting material. Remember, each section should be at least 35 inches wide to meet the chalk line when you lay it down.
- 5. Install the First Layer of Roll Roofing: Carefully line up the edge of your cut roofing material with the chalk line and the edge of the roof. Slowly lay the first layer down, pushing it into the wet cement as you go. This will help secure the roofing material and stretch out any wrinkles. Remember to be careful as the cement can be slippery.
- 6. Add the Second Layer: For the second layer, you’ll need to make a new chalk line 32 inches up from the bottom of the first layer. This allows the layers to overlap, which prevents rain from seeping through any cracks. Spread another layer of roofing cement across the roof, below the new chalk line, and repeat the process of cutting and installing the roll roofing.
- 7. Seal Vents and Valleys: If your roof has plumbing vents, you’ll need to cut a hole in the roll roofing to fit over the vent. Once the hole is cut, slip the roofing over the vent, spread cement around the base of the vent, and add boot flashing to keep the roll secure. This will help prevent leaks around the vent.
- 8. Apply the Final Piece: Once all the roll roofing is down, you’ll need to seal the top layer edges with cement. This will create a watertight seal and prevent the edges from lifting in the wind.
- 9. Double-Check Your Work: Finally, walk the entire roof and seal all nails with cement. This will keep them from coming loose and creating holes in your new roof. Use your utility knife to trim any excess roll roofing along your roof’s edges. Seal the edges with another layer of cement.
Post-Installation Tips
After the installation, we recommend that you take a few extra steps to ensure that your roof is fully up to standard. Start by walking the entire roof and seal all nails with cement. This will keep them from coming loose. Use your razor knife to trim any excess roll roofing along your roof’s edges. Seal the edges with another layer of cement. Once the cement has dried, clean your roof thoroughly to remove any dirt, debris, loose nails, and mud. Roofing may seem like a one-and-done job, but what many people don’t realize is the fact that your roof needs maintenance from time to time, just like the rest of your home. You can read this article to find out more about maintaining your roof.
DIY vs Hiring a Professional
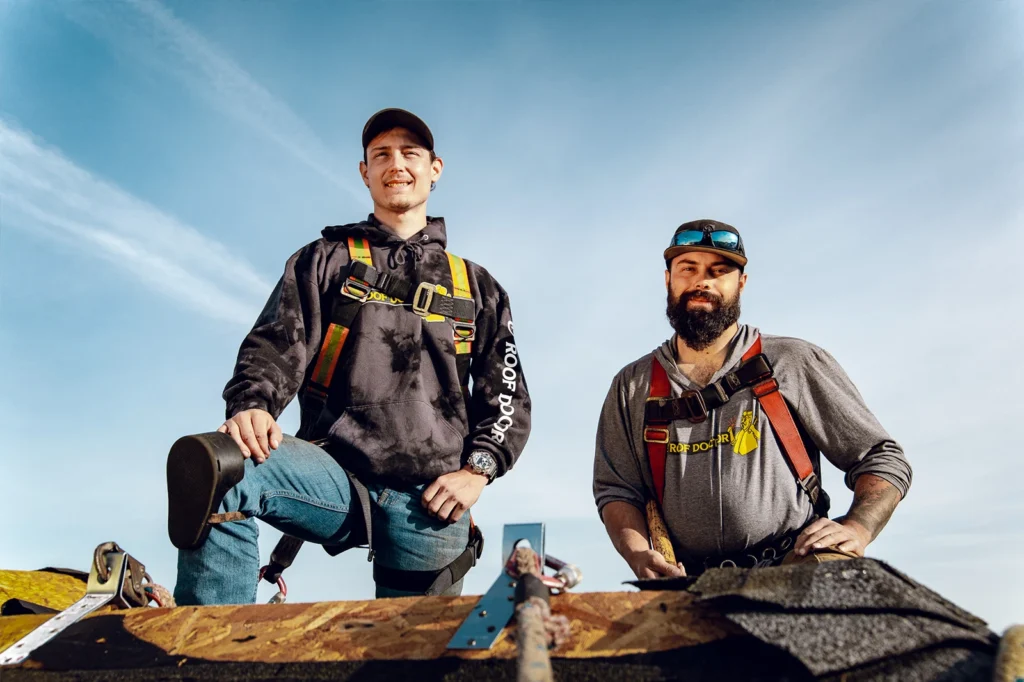
While installing roll roofing can be a DIY project, it requires a lot of skill and prior experience that most homeowners may not have. To ensure the job is done right, homeowners should consider hiring a professional roofing contractor. At The Roof Doctor, we understand safety regarding ladders, heights, and how to navigate a roof properly. We come prepared with licensure, insurance, warranties, and roofing compliance codes. Plus, we always work in a team of at least two, ensuring a safe and efficient job.
Frequently Asked Questions
In this section, we’ll address some common queries about roll roofing installation. If you have any other questions, or are interested in a service, don’t hesitate to reach out to us at The Roof Doctor. We’re always on-call for your roofing needs.
Q: Is roll roofing cheaper than shingles?
A: Yes, roll roofing is generally cheaper than shingles. It’s a budget-friendly option that’s easy to install, making it a popular choice for structures like sheds, garages, and low-slope roofs.
Q: Can you walk on a rolled roof?
A: While it’s possible to walk on a rolled roof, we recommend doing so with caution. The surface can be slippery, especially when wet, and excessive foot traffic can potentially damage the material. Always prioritize safety when accessing your roof.
Q: How long does roll roofing last?
A: Roll roofing typically lasts between 5 to 15 years, depending on the quality of the installation and the environmental conditions. This is less than traditional roofing materials like asphalt shingles, which can last between 20 to 50 years.
Q: Can you roll a roof over shingles?
A: While it’s technically possible to install roll roofing over shingles, it’s not recommended. Roll roofing requires a clean, flat surface for optimal installation and performance. Installing over shingles can lead to an uneven surface and potential issues down the line. It’s best to remove the existing shingles and prepare the roof surface properly before installing roll roofing.
Wrapping Up
Installing roll roofing may seem like a daunting task, especially if you’re new to roofing projects. However, with the right preparation, tools, and our handy step-by-step guide, it’s a project that’s well within your reach. Remember, the key to a successful installation lies in careful preparation, precise measurements, and meticulous application. And if you ever feel unsure or overwhelmed, remember that professionals like us at The Roof Doctor are just a call away. We’re always ready to assist with your roofing needs, ensuring you get the best results for your home or business. Happy roofing!
Why Choose The Roof Doctor?
At The Roof Doctor, we’re more than just a local roofing company. We’re a family-owned and operated business with over 60 years of experience. From Tacoma to Chehalis, we’re committed to providing reliable and unparalleled customer service. Whether you need residential or commercial roofing services, we’ve got you covered 24/7. Contact us today for all your roofing needs!