


Weatherproofing Your Home: How to Install Asphalt Shingles Correctly
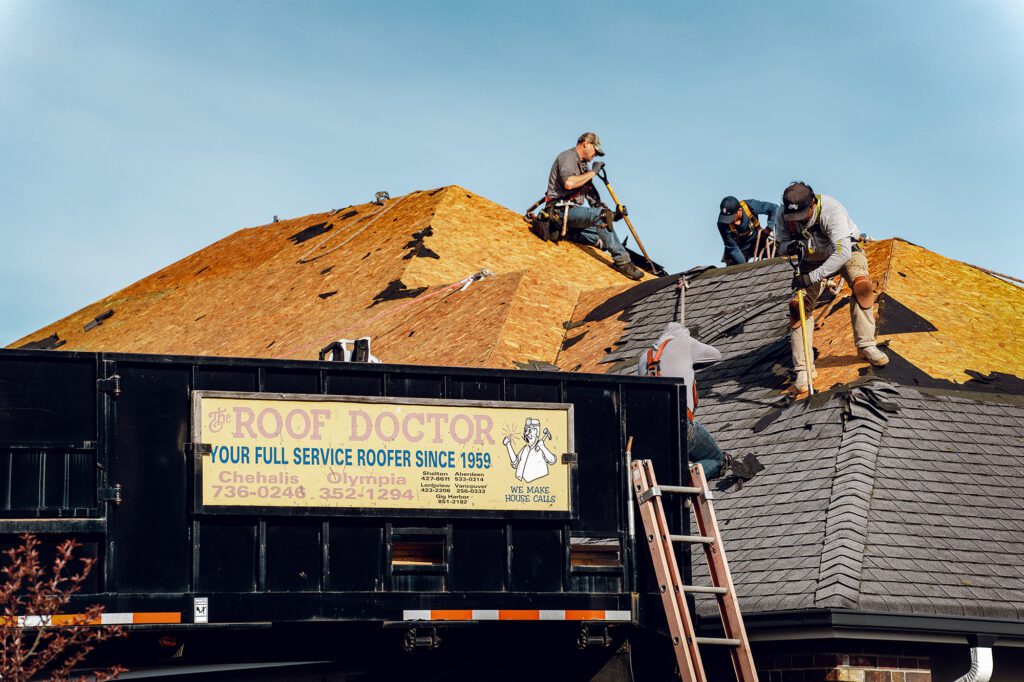
Weatherproofing your home is essential to ensure its longevity and safety. One of the most popular and effective ways to achieve this is by installing asphalt shingles. Not only do they provide a robust barrier against the elements, but they also enhance the aesthetic appeal of your home. In this guide, we’ll delve deep into the world of asphalt shingles, offering insights from the experts at The Roof Doctor, a trusted name with over 60 years of experience in the roofing industry.
What are Asphalt Shingles?
Before we talk about how to apply them to your roof, let’s take a quick look at asphalt shingles themselves. Asphalt shingles are a type of roofing material known for their durability and cost-effectiveness. They are made from a base of either organic felt or fiberglass, saturated with asphalt, and then coated with mineral granule
Different Types of Asphalt Shingles
- Strip Shingles: Often referred to as three-tab shingles, they are the most basic and economical choice.
- Laminate Shingles: Also known as dimensional shingles, they are multi-layered, offering a richer, more sophisticated appearance.
- Premium Shingles: These are high-quality shingles known for their unique designs and higher durability.
Preparation Before Installation
Assessing the Roof Structure
Before you start the installation process, it’s crucial to inspect the roof deck for any damages. A solid foundation ensures the longevity of your shingles.
Materials and Tools Needed
Materials:
- Asphalt Shingles: Choose from strip shingles, laminate shingles, or premium shingles based on your preference and budget.
- Underlayment: A protective barrier that goes under the shingles, usually made of felt or synthetic materials.
- Starter Shingles: These are the first row of shingles installed at the eaves, ensuring proper water runoff.
- Roofing Nails: Specific nails designed for roofing, usually galvanized to prevent rusting.
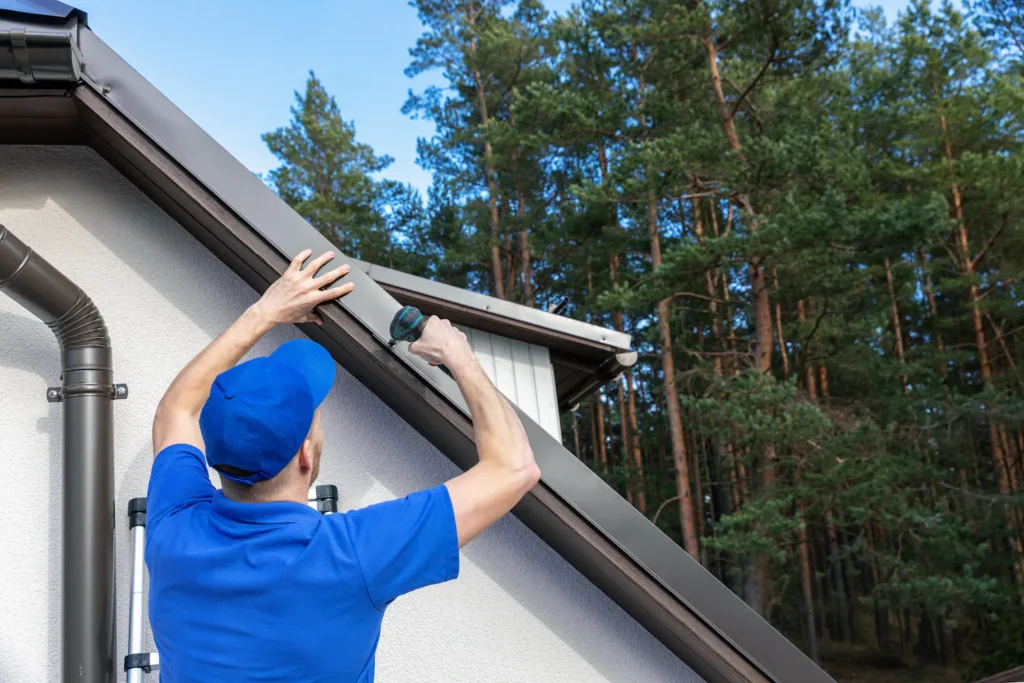
- Drip Edge: Metal flashing that ensures water drips away from the fascia and into the gutters.
- Ice and Water Shield: A type of underlayment used to prevent ice dams in colder climates.
- Roofing Felt: Typically used as an underlayment to provide an extra layer of protection beneath the asphalt shingles.
- Hip and Ridge Shingles: These are specialized shingles used to cover the hip and ridge areas of a roof.
- Flashing: Thin pieces of metal used to prevent water seepage at joints or intersections, like chimneys or vent pipes.
- Roofing Adhesive: A type of glue used to secure shingles, especially at the edges or in areas prone to wind uplift.
Tools:
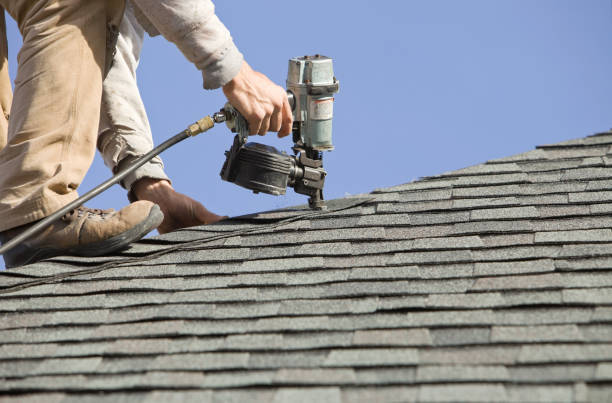
- Roofing Hammer
- Utility Knife
- Chalk Line
- Tape Measure
- Roofing Shovel or Pry Bar
- Ladder
- Safety Harness
- Staple Gun or Hammer Tacker
- Tin Snips
- Roofing Caulk Gun
- Soft Bristled Broom
Step-by-Step Guide to Installing Asphalt Shingles
1. Remove Old Roofing (if applicable)
- Using a roofing shovel or pry bar, carefully remove old shingles, underlayment, and any nails or staples.
- Inspect the roof deck for any signs of damage or rot. Repair or replace any damaged sections.
2. Install Drip Edge
- Begin at the bottom edge of the roof.
- Nail the drip edge in place using roofing nails, ensuring it hangs slightly off the edge.

3. Lay the Underlayment
- Start at the bottom of the roof, rolling out the underlayment horizontally across the roof’s width.
- Secure it using a staple gun or hammer tacker.
- Overlap subsequent rows by at least 2 inches to ensure no gaps.
4. Apply Ice and Water Shield (in colder climates)
- Lay this barrier at the bottom edge of the roof to prevent ice dams.
- It should also be applied around roof penetrations like chimneys or vent pipes to prevent leaks.
5. Install Starter Shingles
- Place the starter shingles at the bottom edge of the roof.
- Ensure they hang off the edge slightly (about 1/4 to 3/8 inch).
- Nail them in place, ensuring nails are positioned according to the manufacturer’s recommendations.
6. Begin Shingle Installation
- Starting at the bottom corner, lay your first shingle.
- Use chalk lines to ensure they’re aligned correctly.
- Nail the shingle in place, typically using four nails per shingle (or as per manufacturer’s guidelines).
7. Continue Laying Shingles
- Place the next shingle beside the first, ensuring they’re tightly butted together.
- Continue this process, ensuring each row is straight and aligned.
- When starting a new row, offset it by half a shingle’s width to ensure the joints don’t align, creating a brick wall pattern.
8. Install Flashing
- Wherever there’s a roof penetration, like vents or chimneys, flashing needs to be installed.
- Slide the flashing under the shingle above while laying it over the shingle below. This ensures water runs over the flashing and not under the shingles.
- Secure the flashing with roofing nails and seal with roofing adhesive.
9. Hip and Ridge Shingles
- Once the main roof area is covered, you’ll need to cap the peak (ridge) and any corners (hips).
- Starting at the bottom of the ridge, work your way to the top, overlapping each shingle.
- Ensure nails are placed beneath the overlap area to hide them.
10. Final Inspection and Cleanup
- Once all shingles are installed, inspect your work to ensure everything is aligned and secured.
- Clean up any debris, using a soft-bristled broom to sweep the roof.
- Dispose of old shingles and nails responsibly.
11. Ventilation
- Ensure your roof has proper ventilation. Install ridge vents or other ventilation systems if needed.
- Proper ventilation prevents heat and moisture buildup, prolonging the life of your shingles and roof deck.
By following this guide, you’ll ensure a successful and durable asphalt shingle installation. Remember, while DIY is possible, if you’re unsure about any steps or need professional expertise, don’t hesitate to reach out to experts like The Roof Doctor for service.
Post-Installation Tips
Inspecting the Installation
Once installed, sweep the roof to remove any debris. Ensure there’s proper water runoff and that there are no gaps or misalignments.
Maintenance and Care
Regular inspections can help identify potential issues. Look out for signs of wear or damage, especially after severe weather conditions.
Common Mistakes and How to Avoid Them
Improper Nailing
Over or under nailing can affect the shingle’s performance. Ensure nails are placed correctly, penetrating both the shingle and the underlayment.
Ignoring Ventilation
Proper roof ventilation ensures the longevity of your shingles. Poor ventilation can lead to moisture buildup, affecting the shingles’ performance.
Summary/Final Thoughts
Installing asphalt shingles correctly is crucial for the longevity and safety of your home. With the right knowledge and tools, you can ensure a watertight and aesthetically pleasing roof.
About Roof Doctor
The Roof Doctor has been serving the community for over 60 years. Born from the hard work and dedication of “Kenny Kid” Slater, the company has grown into Western Washington’s most trusted roofing company, offering professional roofing from Tacoma to Vancouver.
Today, it’s a family legacy carried on by the next generation of the Slater family. With home-grown family values, a watertight reputation, and 24/7 emergency service, we promise comprehensive care for the lifetime of your roof.
We’re not just here to help; we’re excited to be a part of your roofing journey. So, whether you’re a local homeowner or a business owner, if you’re looking to learn or seeking expert services, remember – The Roof Doctor has you covered. Contact us for more information or assistance with your roofing needs.